Browser extension
Save the page you are on from the toolbar, to your own server.
- CtrlShiftY Save the current tab as a bookmark
- CtrlShiftU Save the current tab to the Inbox
The nextDash Bookmark Saver puts the page you are on into nextDash from the toolbar: its title and address are already filled in, you pick a page and a category, and it is saved to your own server. Nothing goes through a service in between. This page is about the extension itself; the other ways in are on Capture.
Try it
- Install the extension. It runs in Chrome and other Chromium browsers, and in Firefox 140 or later.
- Click its icon, open Settings, fill in the address of your nextDash server, add the write token if the server has one, and choose a default page.
- On any page press Ctrl + Shift + Y (Cmd + Shift + Y on a Mac) to save it as a bookmark, or Ctrl + Shift + U to send it to the Inbox.
- Prefer the form? Click the icon, adjust the name, page, category, tags or note, and press Save Bookmark or Save to Inbox.
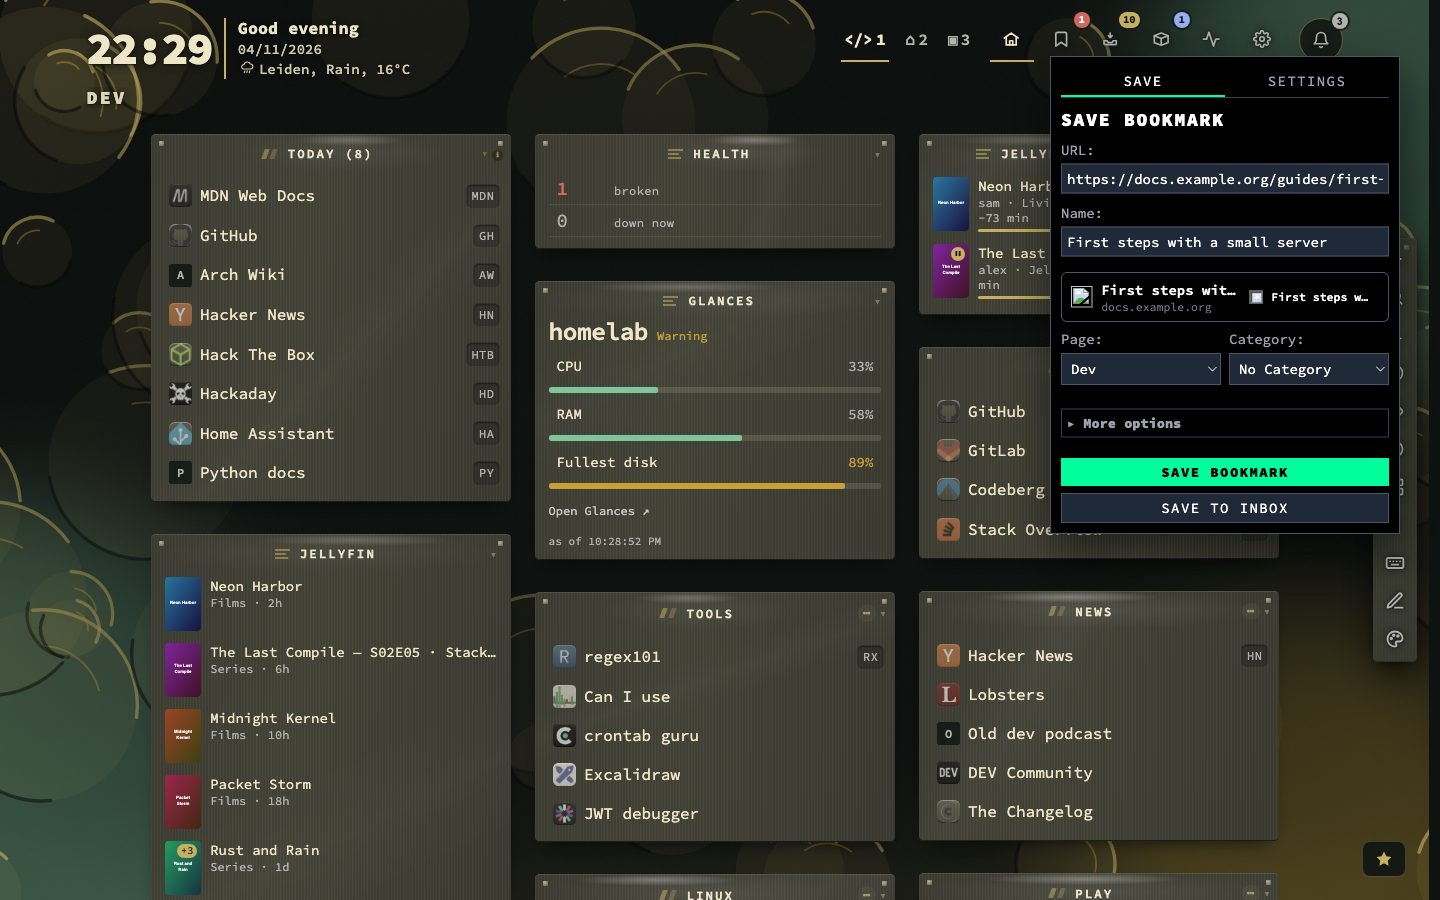
What the popup shows
The Save tab holds the title and address of the current tab, a small preview of how the bookmark will look, the page and category menus, and a More options section for a shortcut, tags and a note. Leave the shortcut empty and a free letter is suggested. When the address is already saved, the popup says where and offers Save anyway.
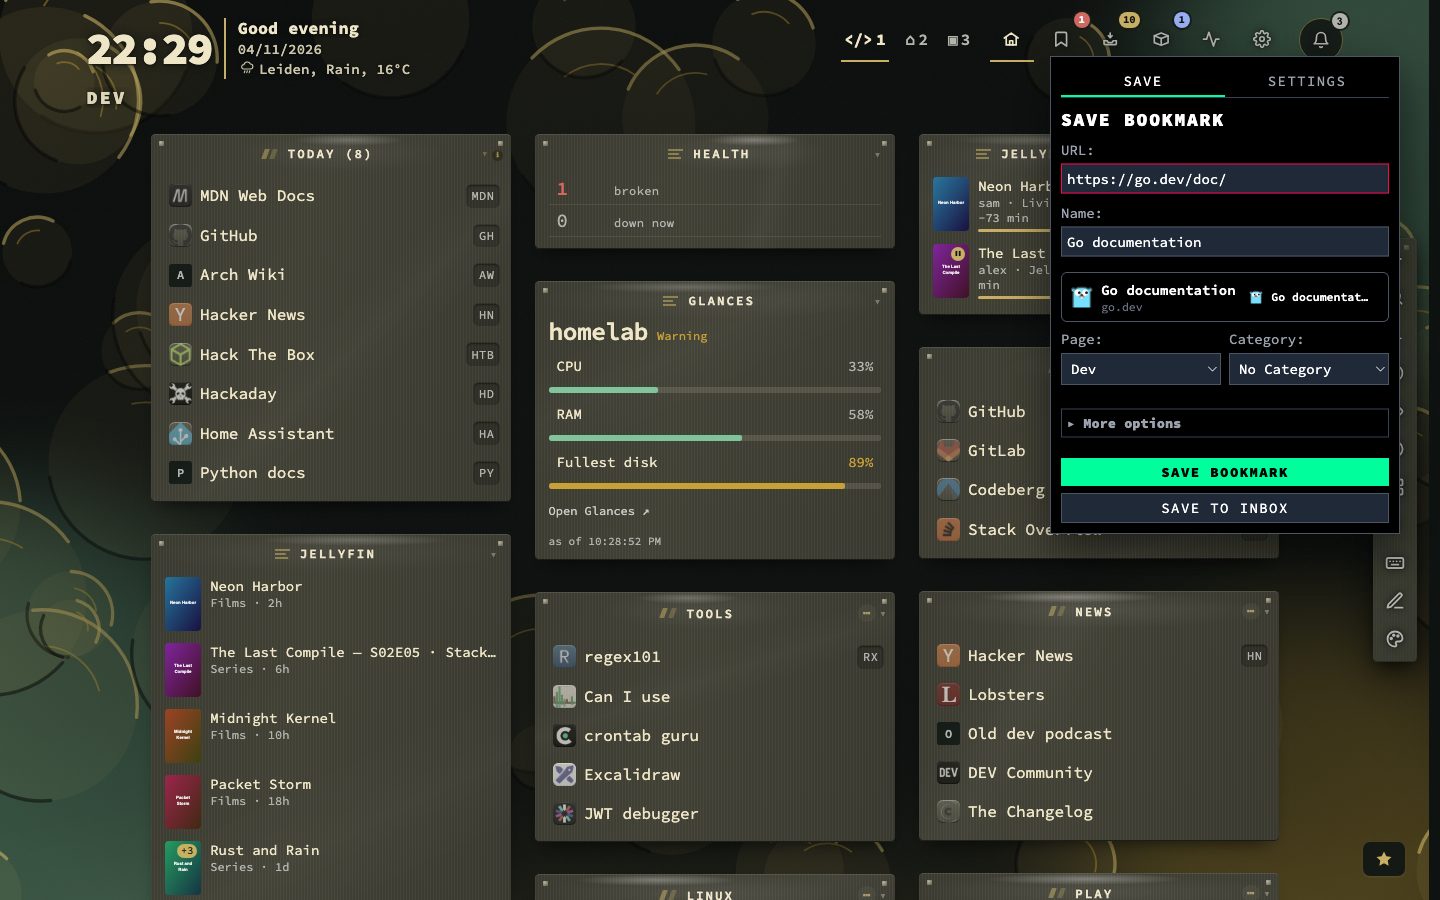
How it reaches your server
The Settings tab takes the address of your nextDash and, if your server asks for a write token, the token. The extension talks to that server directly, so it needs no CORS setting on your side: its origin is always allowed. Errors are named: 401 is a wrong or missing write token, 403 an origin that is not allowed, 409 a shortcut already used on that page.
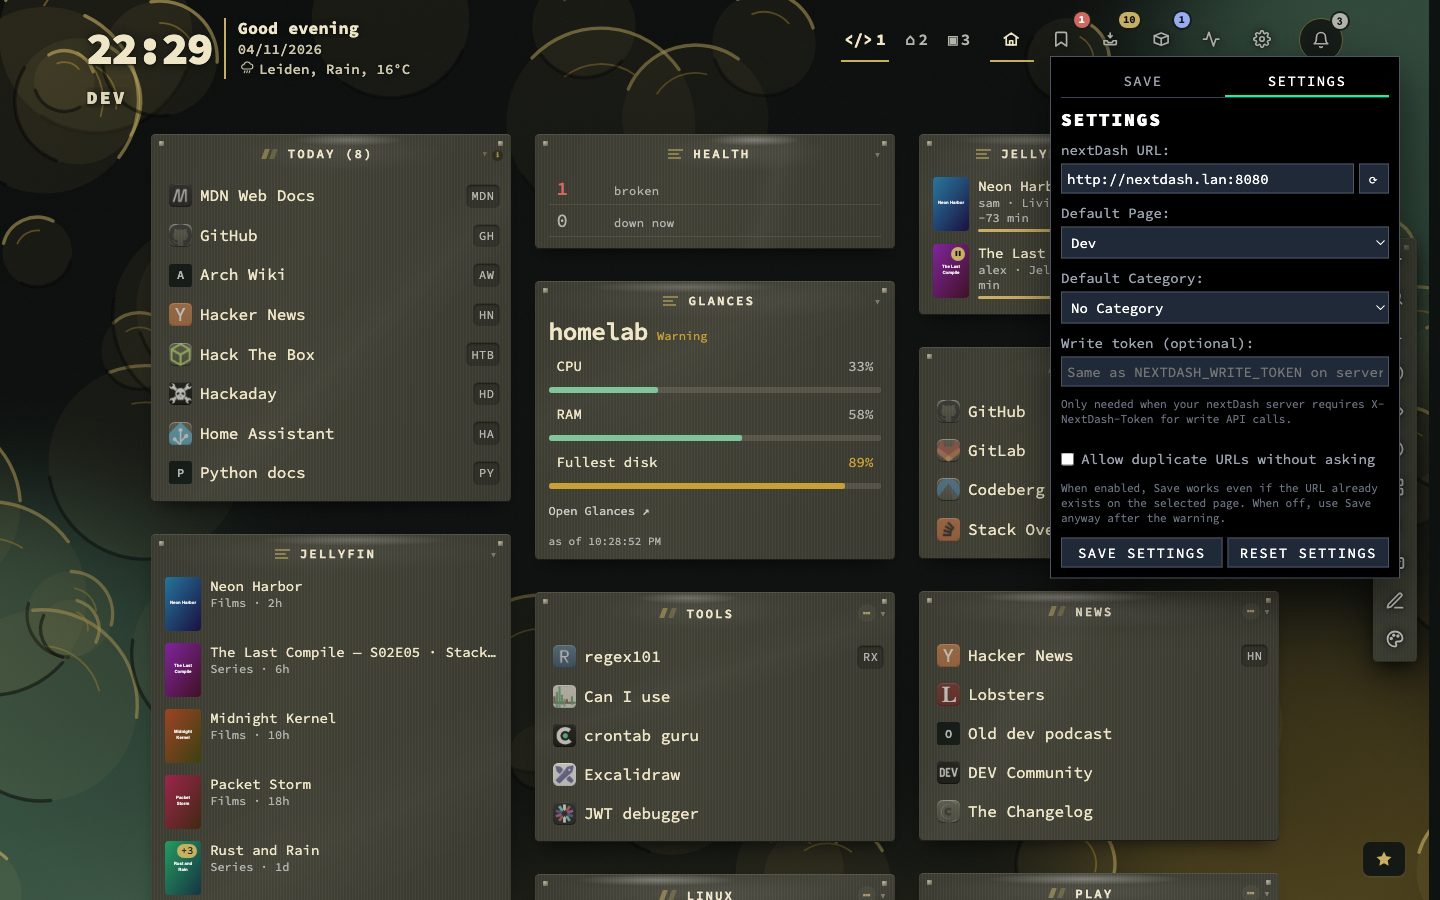
From the page and the keyboard
Right-click a page or a link and choose Save to nextDash or Save to nextDash Inbox. After a save the popup offers to open the bookmark or the Inbox in nextDash, and an open dashboard tab refreshes itself. The toolbar icon reports the outcome with a badge: + saved, D already there, ? no server set, ! failed. A shortcut can be changed in the browser’s own extension shortcut settings.
And without it
On a phone, use the share sheet. Anywhere else, Config, Help, Inbox builds a bookmarklet with your install’s address that you drag to the bookmarks bar. Both save to the Inbox. The manual covers the extension and these routes in chapter 22, Browser extension and capture.
Install and set up
- 1Open chrome://extensions
- 2Switch on Developer mode
- 3Click Load unpacked and choose the extension folder
- 4Open the icon, then Settings, and fill in your server address
The Settings tab takes the address of your nextDash, the write token if the server has one, and a default page. The extension is the nextDash Bookmark Saver, in the extension/ folder of nextDash.
The keys
- Ctrl + Shift + Y (Cmd + Shift + Y on a Mac) saves the page as a bookmark.
- Ctrl + Shift + U (Cmd + Shift + U on a Mac) sends it to the Inbox.
You can change both in the shortcut settings of your browser.
Reading the badge
The toolbar icon shows what happened with a small badge.
- + the page was saved.
- D the address was already there.
- ? no server is set yet.
- ! the save failed. The popup names the error: 401 for a wrong or missing write token, 403 for an origin that is not allowed, 409 for a shortcut already used on that page.
Saving with a shortcut, a tag and a note
Leave the shortcut empty and a free letter is suggested. Under More options you can add tags and a note before you save. After a save, the popup offers Open in nextDash or Open Inbox in nextDash, and an open dashboard tab refreshes itself, so the new bookmark is already there.
Choose Save to Inbox when you only want to keep the link for now. It waits in the inbox until you give it a page.